Save the logo image, convert it to SVG, then open the result in a drawing app to make corrections. The conversion turns the picture into editable shapes. It does not fix misspelled words or decide how the logo should look.
Use the logo itself
Start with a flat, front-facing image of the logo. Avoid a preview of it printed on a mug, wall or business card: shadows, texture and perspective can become part of the converted drawing.
Before converting, write down anything already wrong, such as an extra dot or an uneven border. Check those same places afterward so a smoother edge does not hide the mistake.
Try an example
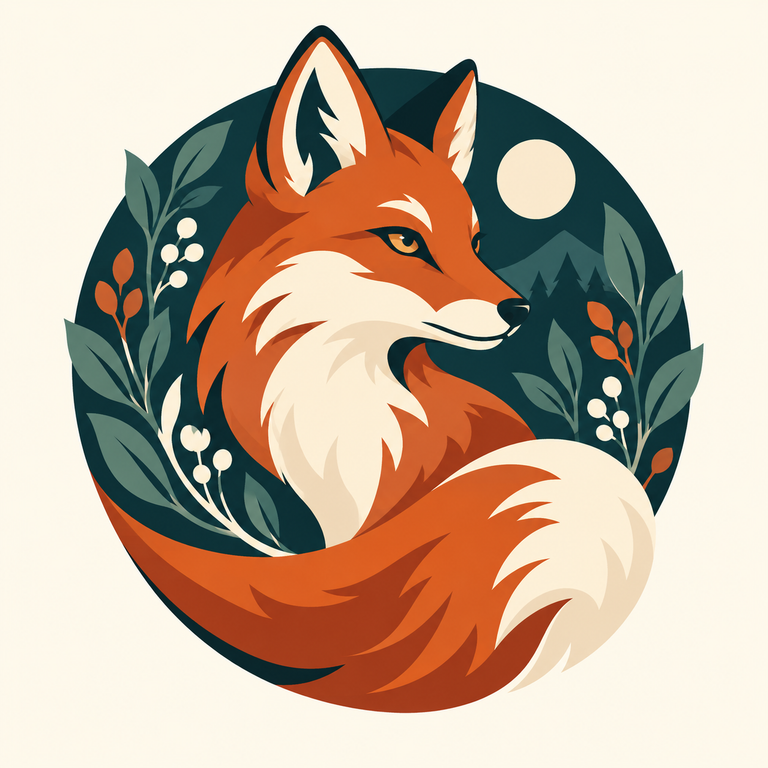
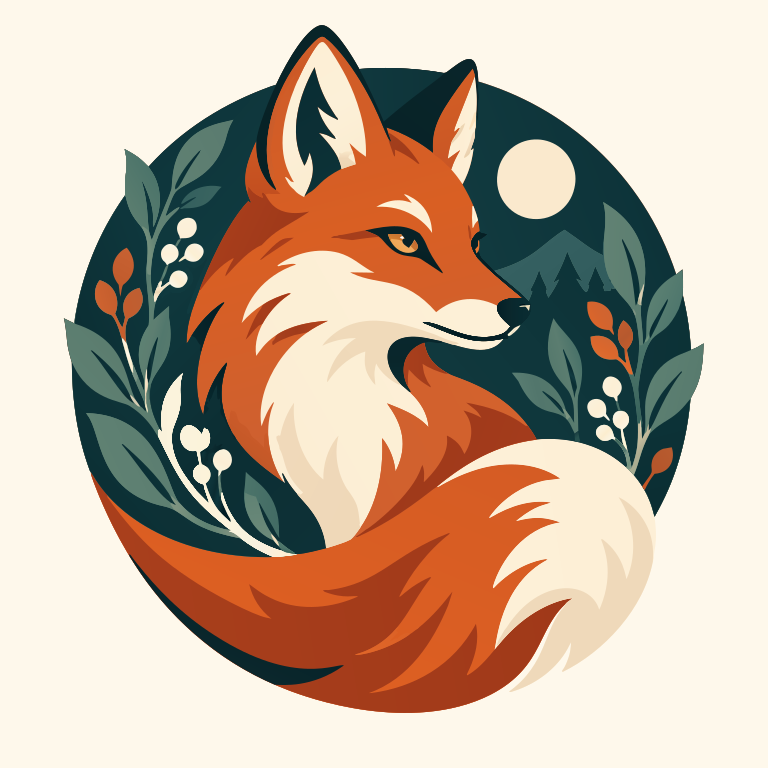
This fox was created with AI for our demonstration; it is not a customer logo. Compare the face, tail and small gaps in the source with the converted SVG. The SVG has not been corrected by hand.
Check every letter
ImageSVG converts pictured letters into shapes, not editable text. You can adjust their edges, but you cannot replace a word by typing. If the logo contains a name, proofread it and recreate the text with the correct font in your drawing app when possible.
Keep a version with editable text. If a printer asks for outlined text, make a separate copy with the letters converted to shapes.
Before you use the logo
- Open the SVG in the app where you will edit it. Select a shape and change its color to check that it is editable.
- View it small enough to match its website use. Can you still read the name and recognize the symbol?
- Place it on light and dark backgrounds. Look for unwanted boxes or pale edges.
- For print, ask the printer which format, size and color setup they need.
If you already work in Figma, its own image-to-vector feature is another option to check. Either way, keep the original image and a corrected SVG. A different file format will not repair a spelling or design mistake.